
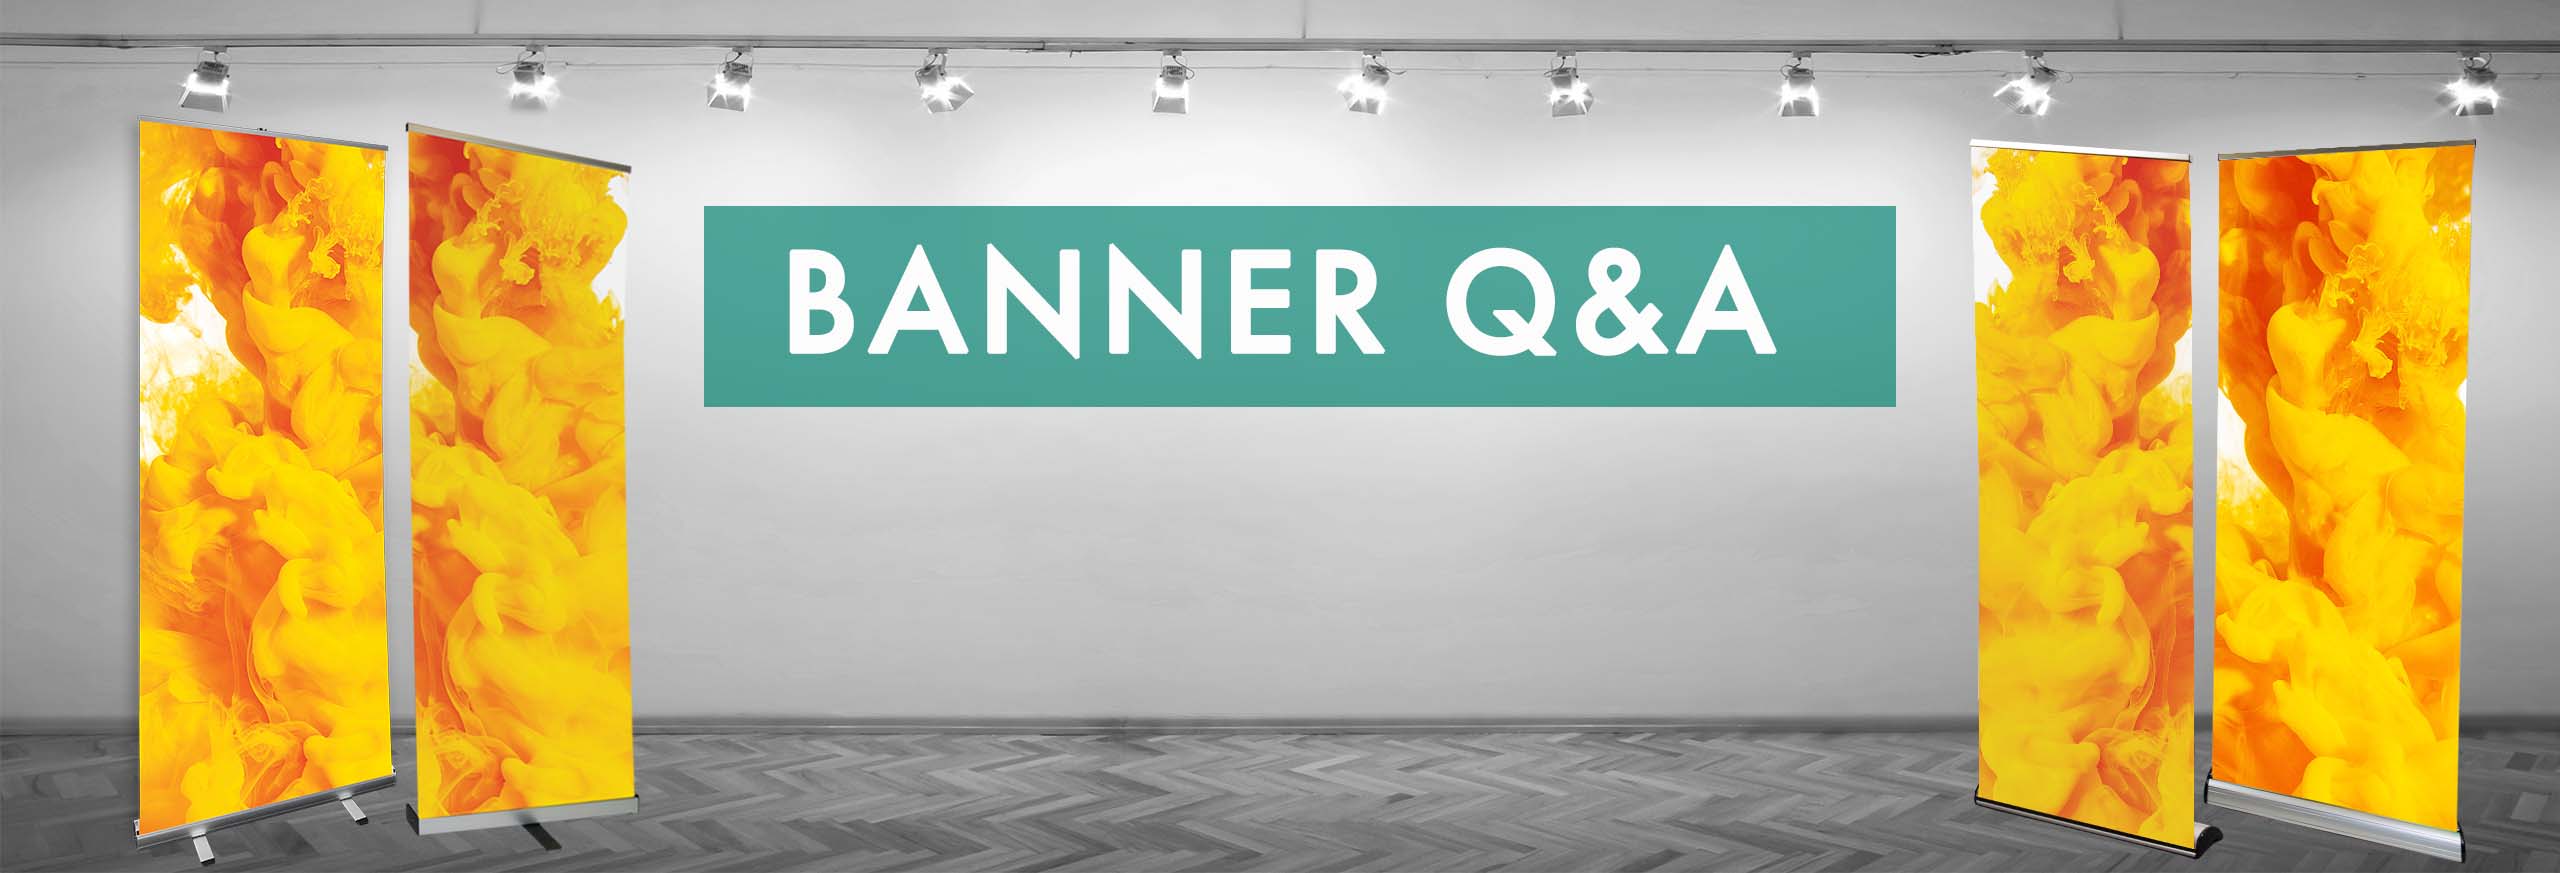
Ever found yourself faced with too many roller banners to choose from, or not knowing what’s best for your customers’ requirements?
Below we’ve asked our expert team to answer some of your frequent Roller Banner questions – from rail types to reskinning the graphics! Read on to find out more…
- What is the difference between a snap rail and a self-adhesive rail on your pop-up banners?
Both of these rail types are incredibly popular with our customers. In a snapshot; a snap rail is mechanical, and clamps a graphic securely to the hardware. Whilst a self-adhesive rail adheres to a graphic with high bond double sided tape. Some believe a snap rail is more secure whilst others prefer how quickly the self-adhesive rail is fitted. For extra peace of mind some of our Roller Banners also come with a combo snap and stick rail, so you get the best of both worlds!

Snap rail Self-adhesive rail
- What are the differences between your entry and premium roller banner offerings?
One we get asked a lot! We have a range of roller banners to suit all budget and usage types depending on the event and what your customer requires.
We have an in-house product development team with 23+ years’ experience in display product design, so we tend to design our own stands to incorporate best design and top rated features.
A general rule of thumb for us is our premium banner stands have a sturdy base without twist out feet. The base is aesthetically pleasing and often the graphic retracts close to the bottom creating a floating graphic wall. They frequently have superior features too, such as self-tensioner, stick and click extra secure rail, telescopic pole and a padded bag with shoulder strap.
Our budget units tend to be lighter with twist out feet, and generally come with a choice of snap or adhesive rails, a fixed height bungee pole and a simpler bag depending on the unit. We have a stand to suit every requirement and price point and offer a variety of widths from A4 to 240cm as well as a 300cm high stands. These are your entry level banner stands!
- Why should the customer choose a telescopic pole instead of a fixed height pole?
A telescopic pole simply gives the user the ability to set the graphic at a height of their choice. This can be very useful if a room has lower or taller ceiling enabling the user to utilise the space available. They also make it easier to reuse your roller banner stands at multiple events with differing spaces, making them a great flexible option.

Easy adjustable mechanism
- What are front loading graphics and what are the benefits?
This one is about that all important graphic visibility! So, a graphic can either retract from the top or the front of the banner unit, depending on the banner stand design. If the graphic retracts from the top then the base of the stand is fully visible. If you look at our Luxury or Popular range you will see that the graphic retracts from the front close to the bottom of the units, creating a floating graphic wall with maximum graphic exposure and minimum base visibility. It’s all about the graphic and remember a banner stand is the best device to display a still message or brand, in an easy and clean way.
- Can you give us the top tips for successfully assembling a pull up banner?
We’ve all been there….wrestling with a roller banner and struggling to get the graphic aligned or it to feed in neatly to the base.
Our advice – work on a flat surface and always fit the rail first.
When using a snap rail make sure equal pressure is applied along the full length of the rail so that the graphic doesn’t pucker. When using an adhesive top rail use a roller and apply pressure to the self-adhesive join in order to remove any air bubbles and create a firm bond. Once the rail is fitted make sure the bottom of the graphic is fully adhered to the self-adhesive leader using the same technique as when fitting the top adhesive rail. After the graphic is secured at the top and bottom the fitter can then retract the graphic into the base. It’s crucial that the graphic remains central so the sides of the graphic aren’t puckered when fed into the base. Most roll the graphic up and hold tight in one hand as once the Allen key / pin in is removed the tension will pull the graphic into the base. Gently feed the graphic into the stand keeping it central until the graphic is fully retracted. You can now trial the stand before packaging up for the client. The longer the adhesive is left to bond the better.
- Can a pull up banner be re skinned?
Yes, all stands can be reskinned depending on the amount of work you want to undertake. If you are looking to reskin a stand multiple times you may want to consider the Cassette roller banner instead. The bag, base and pole can be used time and time again. You simply buy extra cassettes, apply graphics and load them up every time you want to display a different graphic.

Changeable Cassette Banner
We’d love to hear any other questions you have on our roller banner hardware – simply comment below!
Check out all of Roller banner solutions and our vast range of other Portable Display Products.


Leave A Comment